16 Jan
Isn’t it fantastic that you can communicate with someone or a customer based on their condition-based replies?
Because every time we communicate professionally with someone, our major objective is for them to see what we’re saying or what we’re offering and be interested in what we have to offer.
Every time we send an email to someone, we want to know if they are interested in our product. so that we can decide whether it’s worth it or not to move forward …
In this blog, we are going to talk about how you can use user input flow as well as condition replies.
condition-based replies is a very very important feature. that socialNowa has brought for you. and now we will see how we can utilise this feature for making your Bot.
Let’s talk about how you can make a condition reply bot for your business in detail step by step.
Open your SocialNowa account first, then select the Facebook and Instagram option. From here, you can see all the pages you want to integrate with SocialNowa as well as the specific page where your bot will be placed.
To connect to a specific page, simply click on it and turn on the bot connection.
Whichever site you use to create a chatbot, whether Facebook or Instagram, click on it to see all of your accounts. Choose your preferred page.
After enabling the bot connection, select the option for the bot manager to view all of your pages. We’ll be creating a chatbot for a Facebook page in this blog. You can create a chatbot for your Instagram feed if you’d like.
After this click on create a new flow and now you can make your condition bot reply flow.
Follow the below steps to make condition bot reply flow :
Step I- Triggered keywords and Action Button
First, you will take and click on trigger Keywords And double click on trigger keywords and you can type hello, hi, hey, Hii, etc .. click on done and this is how the bot will start.
After this double click on the action button and give a title to it. ( Get started template ) and then both the triggered keyword and action button connect with the story bot flow.
Remember to give a title to your start bot flow and also you can give labelling.
Step II: Text

In the text, you can type Hi, #LEAD_USER_FIRST_NAME#! Welcome to our Car Service Station. Let us know what you are looking for then click on done.
And next, there are two buttons, one is car service and the second is car cleaning and a new postback manager will start.
The other is a car cleaning option. Also, a new postback manager will start and We simply have put some text here.
If someone clicks on the car cleaning option it says Sorry we have halted our services for car cleaning for now. Let us notify you when we open our car cleaning services back again. And done.
Step III: User Input flow
Now here our first option is car service, and here you have to put a postback manager and you have to use user input flow.
Click on user input give a name (add user input flow). and also give a campaign name like car service it is most important and click on done.
Step IV: Questions
First question: Car brand name, please?
Here you will start with your 1st question, there you can see two options: 1st free keyboard input and the 2nd is multiple choice so you click on 1st option free keyboard input, and in the question, you have to write #LEAD_USER_FIRST_NAME#! Car brand name, please?
And after that, you will see the reply type option. It should be text only because our question is related to text so in reply type, you have to click on the text.
Then you will see the save to custom field option. Remember this is the custom field, custom field means you have to give a custom name for where you are putting the data.
This is very important. Many people get confused here even though you see a lot of names here but remember you have to add your name.
You can find there is an option to add a new click on it and you can put your brand name.
Also the same as the system field but there is no system field you can assign a label to it just put the car brand and the label is assigned and then click on done.
You are done with your first question or your first condition
Second Question: year of purchase?
The second question is the year of purchase. Click on the 1st option free keyboard input, and in the question, #LEAD_USER_FIRST_NAME#! type year of purchase?
In Reply, the type will keep the number because when they reply it will be in a number.
and there you have to make a custom field you can always click on add new option and you can click on the year of purchase.
System field if you want you can select but we didn’t select it. And you can assign labels also and then click on done. And you are done with your second question also.
Step V: New Postback ( condition-based replies )
After completing Step four here the new postback manager will start. You see two options there one is the final reply and the second is the next question so we have just gone for a final reply because we have to add this many questions only.
If you want you can add a few more questions. Click on the new postback manager and give the title condition check because we will be checking the condition here.
After this next take the condition-based replies template from there you can find, click on it in the condition reply you can see two options there one is All match and the other is any match. we click on All matches.
In the system field, we will not select any kind of system field. the custom field you can see three options first is a variable second is an operator and third is value.
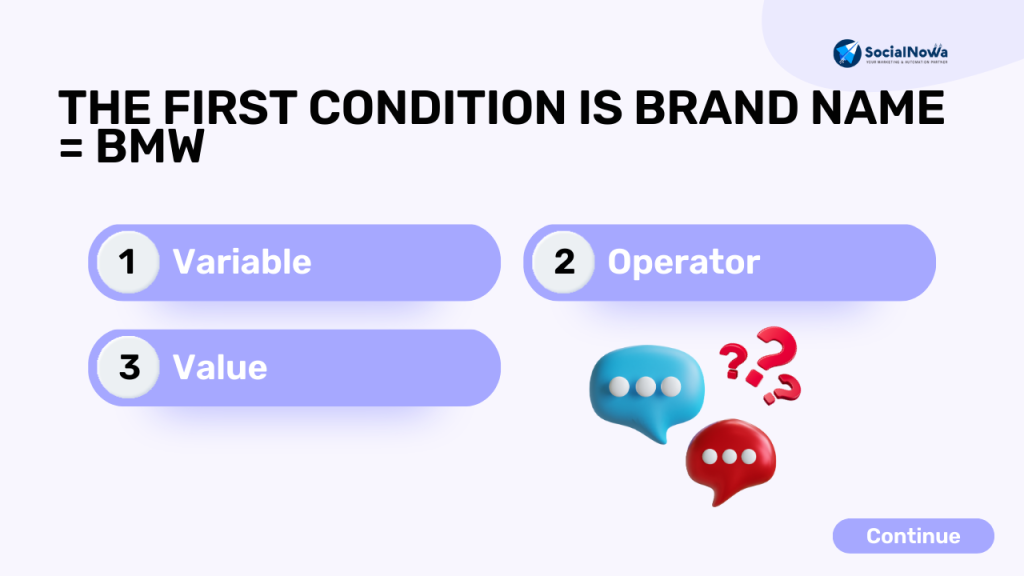
The first condition is Brand name = BMW
1. Variable
In the variable option whatever custom field you have put up before you have to add it here and we will put the brand name because we put the brand in the custom field.
so this was the one custom field to that we added the brand name
2. Operator
Second is the operator here you can select what operator you want like start with, ends with, has value, contains, etc we will select here that is equal to ( = )
3. Value
And the third is value so here will type BMW so the Brand name is equal to BMW ( brand name = BMW ).
If any user is giving us some information and he might have a lot of cars but we only do service for BMW in that case let him put if his answer matches BMW then one condition is fulfilled.
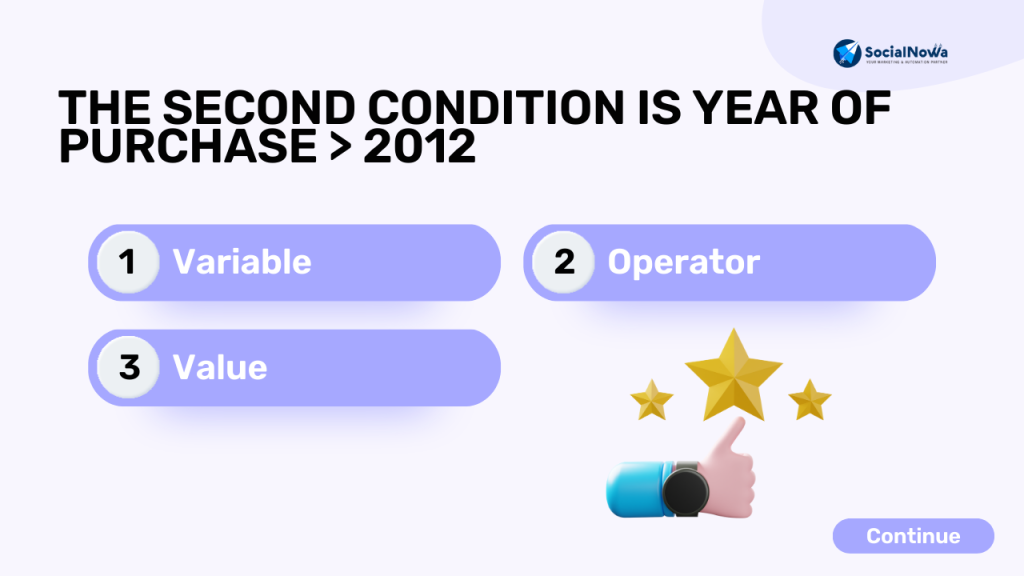
The second condition is Year of purchase > 2012
1. Variable
The variable option is the year of purchase. Let’s suppose The person might have of 1998 or 2003. Let’s suppose we do not offer service or maintenance or repair of that kind of vehicle which was purchased before 2012.
In this case, we will put the year of purchase in a variable. Variable is very important because the variable simply will fetch data from there.
Sometimes you might see a lot of variables there but don’t go for that just make sure you have added a different custom field and ask or select that only so it is easier for the system to understand where to get the data from.
2. Operator
In operator, it should be equal to or greater than 2012 means the person should have bought their vehicle in or after 2012.
In those conditions the answer will be congratulation, now you have to incentivise the person so you will say Congratulations. You are eligible for $25 Off on your Car Servicing. Your Coupon is – Road25. Visit us now.
3. Value
In value, you can select whatever year will go for your business. So here the total condition is a year of purchasing is equal to or greater than 2012 ( year of purchase > 2012 )
The person will come to you and will place his order
And if both, and one condition do not match in that case you do not provide services so you will simply say Sorry. We do not Service your vehicle. thanks for your inquiry
So this is how you can make your condition-based replies bot. This is very very simple.
Where will you get all the data of users so just go to the SocialNowa dashboard there you will see the subscriber manager option click on it and there you will find all your data.
If you want to download the data you can download it to use it. verify it or you want to use it with your email automation tool.
Last Thought :
I hope that you understand this condition-based replies, to the user input flow feature and that this will be very helpful to you.
And Through this blog, you also can create condition reply user input flow to grow your company or business.
Related Post